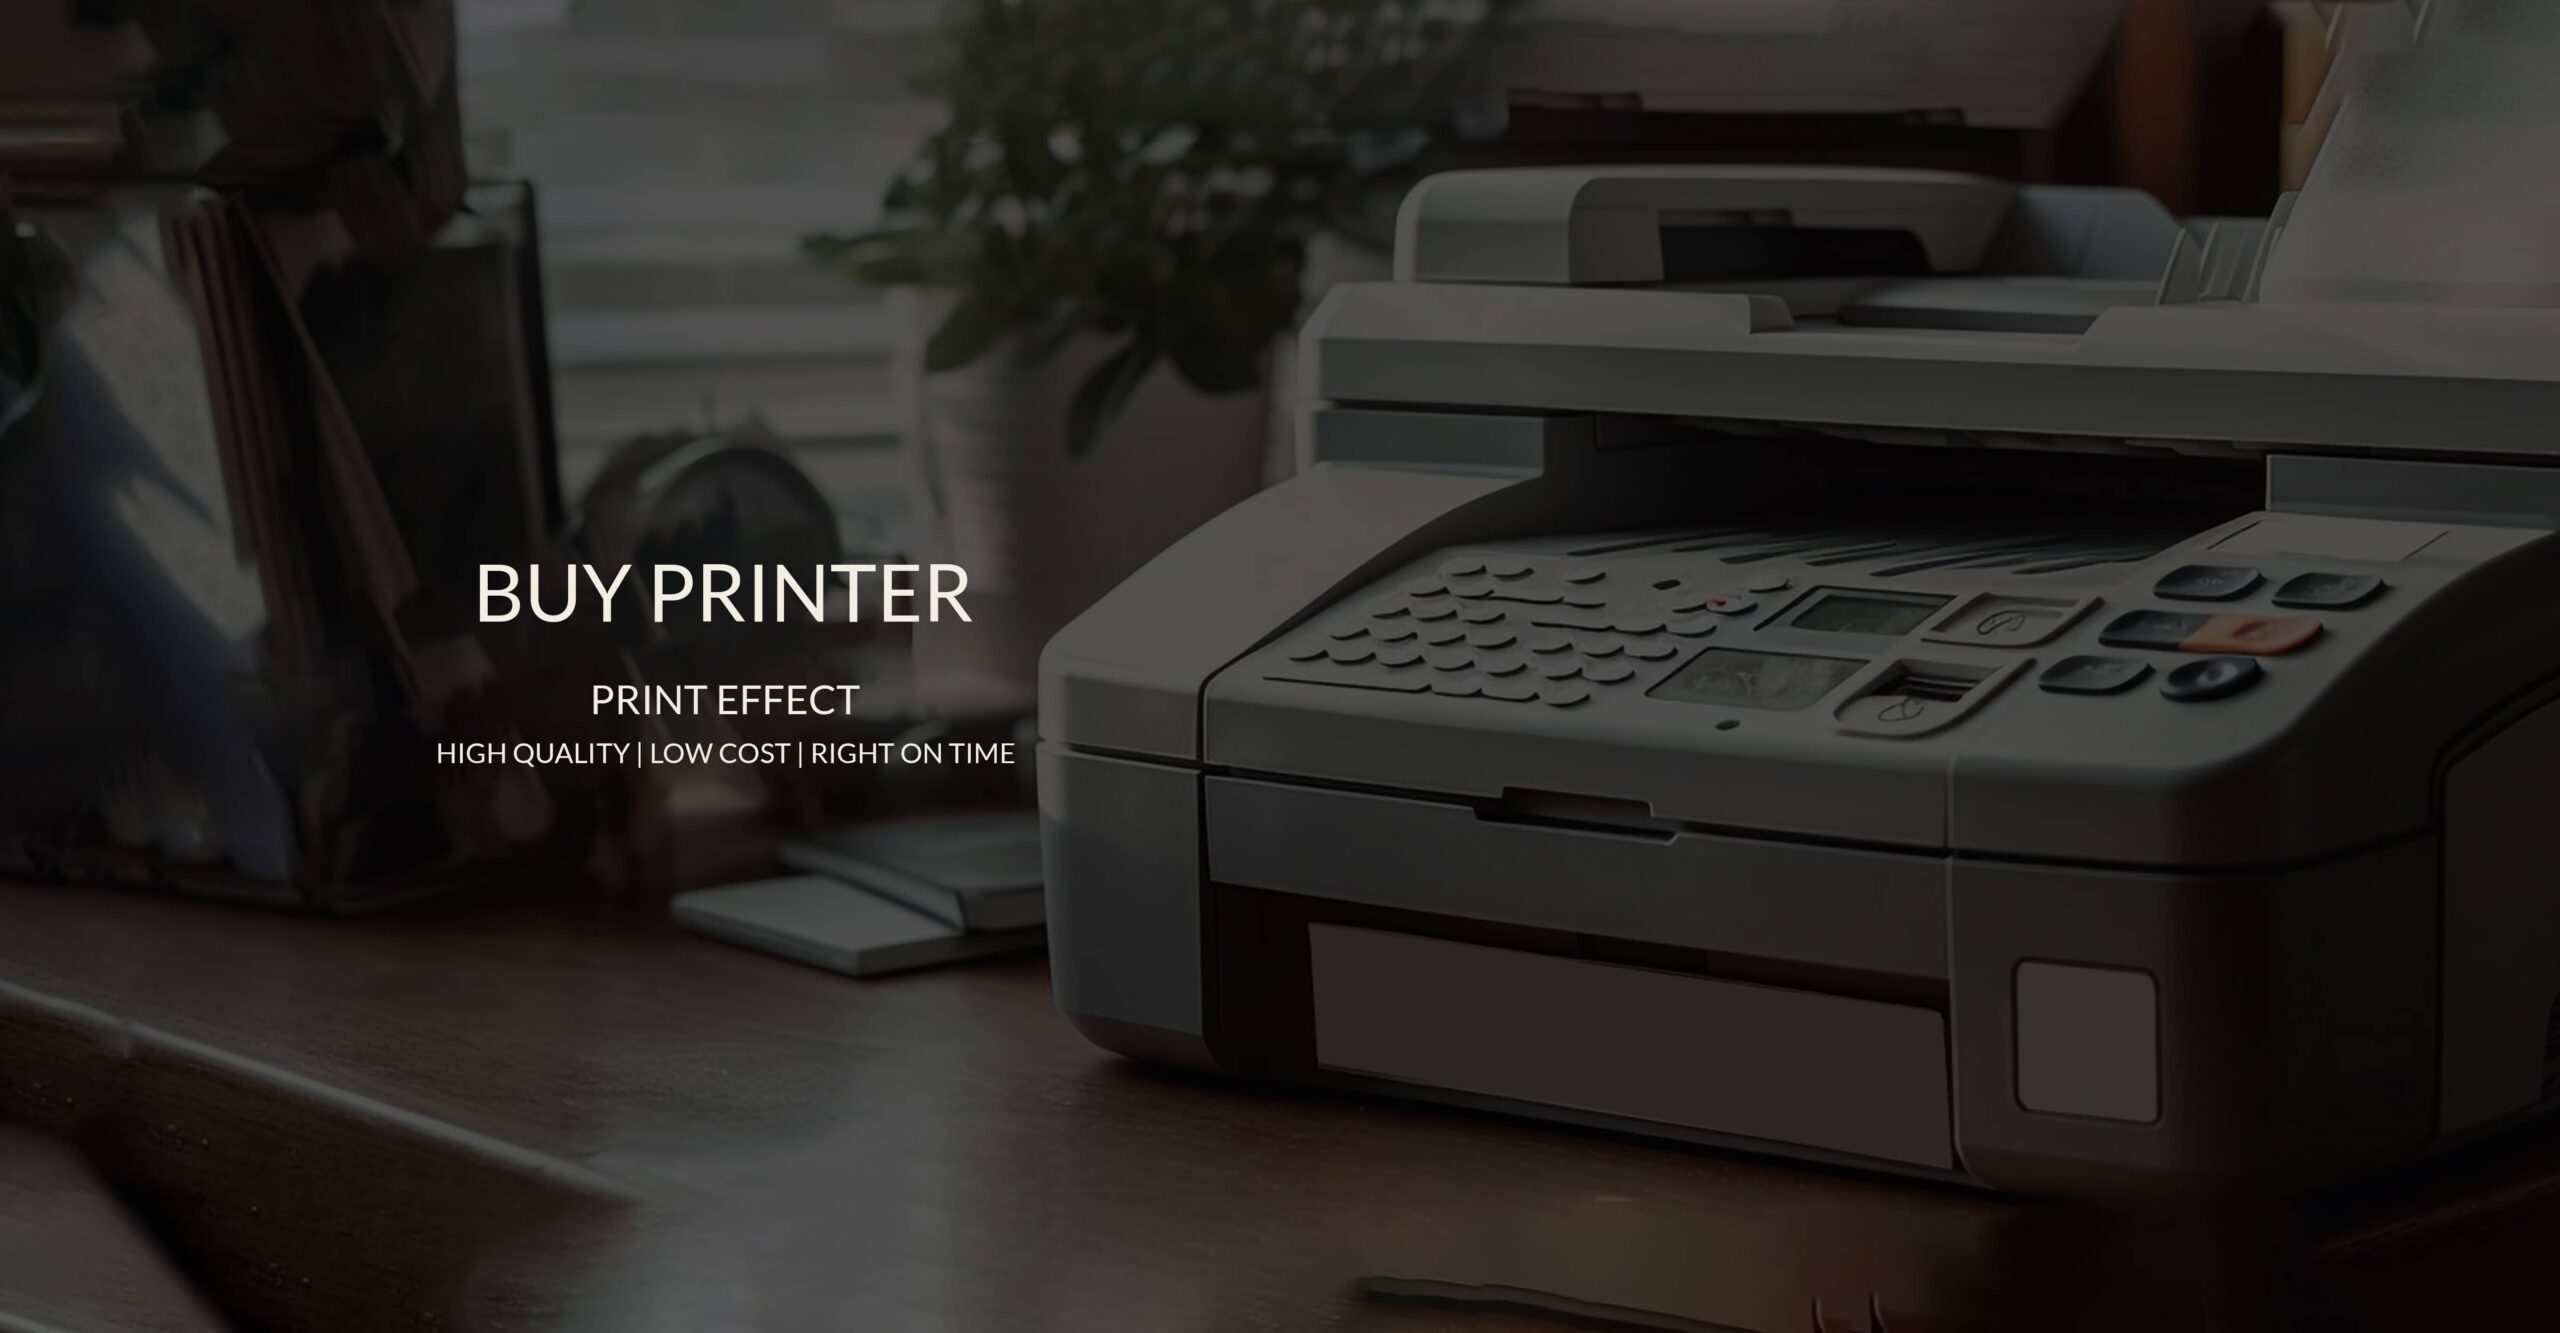
Setup Instructions
Your Easy Fix for Any Printer Problem
Set Up Fast. Print Smoothly. No Hassle.
Whether you’ve just unboxed a brand-new printer or your existing one refuses to connect, we’re here to help. From installation to error resolution, we take the stress out of printing.
What We Offer:
- Fast and easy printer setup
- Wireless/WiFi connection support
- Full setup for new printers (start to finish)
- Driver installation and software updates
- 24/7 online customer assistance
How Can We Help You Today?
Step-by-Step Printer Setup Guide
Unboxing a new printer should be exciting, not overwhelming. This simple setup guide works for most HP models, including Deskjet, Envy, OfficeJet Pro, Smart Tank, and LaserJet.
Follow each step carefully — you’ll be printing in no time.
Step 1: Unbox Your Printer
- Open the box and remove all items.
- Gently place the printer on a flat, stable surface.
- Remove all tape and packing material from inside and outside the device.
Step 2: Power It On
- Plug one end of the power cord into the printer and the other into a wall outlet.
- Press the Power button — the display screen should light up.
Step 3: Load Paper
- Pull out the input paper tray.
- Adjust the guides to fit the paper size.
- Insert plain white paper neatly into the tray (don’t overfill).
Step 4: Install Ink Cartridges
- Open the ink cartridge access door.
- Wait for the cartridge carriage to center itself.
- Remove protective tape from the cartridges (avoid touching the copper contacts).
- Insert cartridges into their respective color slots and press gently until they click.
- Close the access door.
Step 5: Align the Printer (Recommended)
- The printer may print an alignment page.
- Follow on-screen prompts or use the printer manual to complete alignment.
- This ensures better print quality.
Step 6: Connect to WiFi
- On the printer screen, open the Wireless or Setup menu.
- Select WiFi Setup > Choose your network > Enter your WiFi password.
- Wait for the printer to confirm a successful connection.
Step 7: Install Software & Drivers
Option A: Using the Setup CD
- Insert the CD into your computer.
- Follow on-screen installation steps.
- Choose USB or Wireless connection as prompted.
Option B: Downloading from HP’s Website
- Go to 123.hp.com or support.hp.com.
- Enter your printer model and download the latest drivers/software.
- Launch the installer and follow the instructions.
- Select connection type (USB or wireless) when prompted.
Step 8: Print a Test Page
- Open any document or image on your device.
- Choose your printer and click Print.
- Confirm the printout looks correct.
Step 9: Set Up Mobile Printing (Optional)
- Download the Smart App from the App Store or Google Play.
- Open the app and follow the steps to add your printer.
- From your phone, you can now print, scan, and monitor ink levels.
Step 10: Keep It Running Smoothly
- Use the HP Smart App or visit HP’s support site for help with future issues.
- Clean the printhead periodically to maintain print quality.
- Replace ink cartridges when they run low.
We’re here 24/7 to guide you through any issue — from WiFi drops to stubborn driver errors.